Customer care interface allows to create customers. In Opencell, those can either be individuals or organizations (e.g. companies).
Customer creation is still a head scratcher as we have various notions, but do not panic, we will walk you through all this.
Customer hierarchy in Opencell model
For those of you who have been used to previous versions of Opencell, you are familiar to the notion of “Customer Hierarchy”, which has been pretty useful for some on you when required to manager complex billing rules, you will find a new way of creating and managing a Customer now
If Customer Hierarchy does not ring a bell yet, you can take a last minute course. You can check-out this page : Account hierarchy
Since Opencell 11, customers are easier to create via the interface, and will allow you to have a 360° view on the your customers’ life throughout your whole environment thanks to new tabs like “Subscriptions”, “Quote” or even “Balance”… To check out the Customer’s 360° view, go to Customer 360° view
Customer’s view
Customers are managed in the Customer care app, sub-menu Customers. You will arrive on a list view page, where all created customer will be. As for (almost) all lists views in Opencell, you will have access to a search bar on the upper left corner of the page, as well as buttons on the upper right corner.
Search bar:
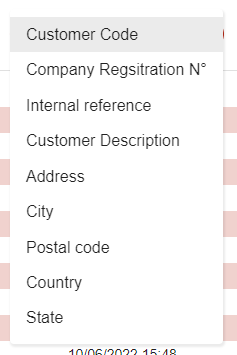
The search bar allows you to filter the whole customer list by just typing into it. System will then seamlessly search in various fields linked to the customer:
-
Customer code
-
Customer description
-
Customer account code
-
Customer account description
-
User account code
-
User account description
-
Country
-
Registration n°
Available buttons:
Five buttons are available on the top right corner of the list view: Filter, Add, Mass import, Recently viewed, Download. These allow you to do various actions. We are not going to address Mass import or Export here, as they have their dedicated pages here: Mass customer and subscription data import
:filter: button gives you access to
And :plus: button will take you to the Customer creation page! Let’s have a look below.
Create your Customers
After hitting the :plus: button, you will arrive on the following page:
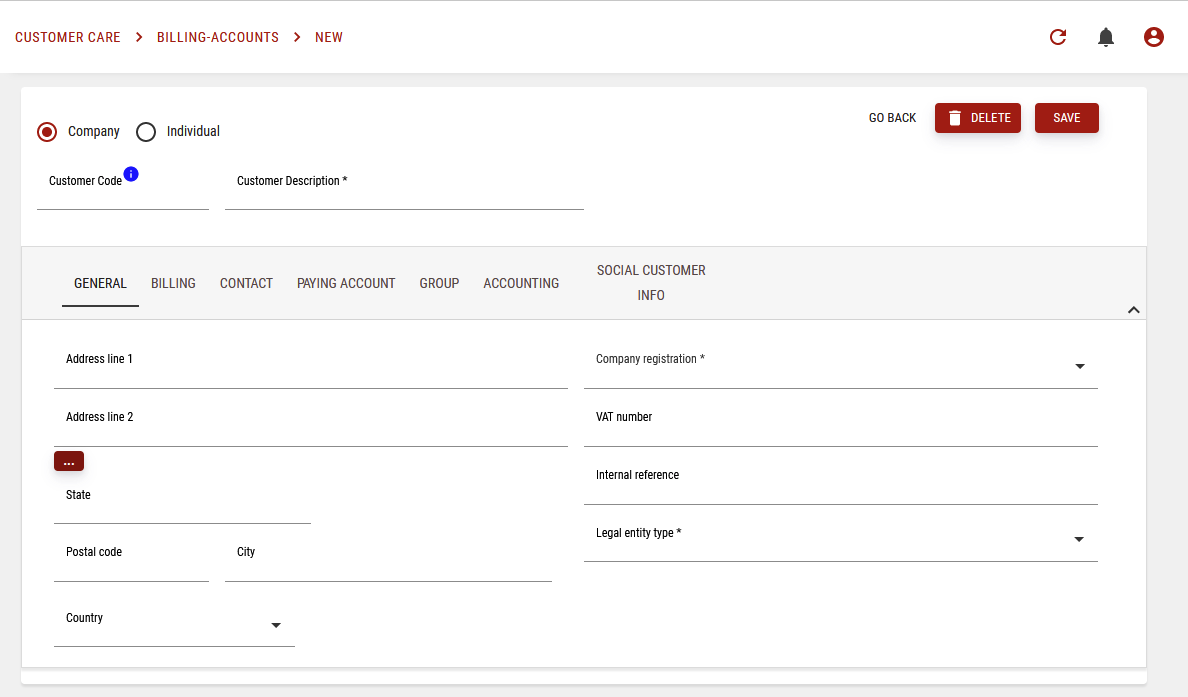
Note that the grey space with all tabs is closed by default. To open it, just click on one of the tabs 🙂
This area will be referenced to as General section
Here is where will create you customer that can either be a Company or an Individual.
You will have to fill in a number of mandatory fields in the General section (all tabs and upper section) before being able to save and create you customer. For now, mandatory fields are scattered in all tabs and the upper section.
Please find below the minimum required for a Company:
|
Where |
Mandatory field |
|---|---|
|
Upper section |
|
|
GENERAL tab |
|
|
BILLING tab |
|
|
CONTACT tab |
|
|
PAYING ACCOUNT tab |
|
|
GROUP tab |
|
|
ACCOUNTING tab |
N/A |
And below the minimum required for an Individual:
|
Where |
Mandatory field |
|---|---|
|
Upper section |
N/A |
|
CUSTOMER INFO tab |
|
|
BILLING tab |
|
|
PAYING ACCOUNT tab |
|
|
ACCOUNTING tab |
N/A |
As you may have noticed, the tabs in the General section differ depending if the custmer you are creating is either an Individual or a Company. Let’s have a quick tour of these tabs.
For Companies:
A total of 6 tabs:
-
GENERAL → Generic information of your customer like address, VAT n°…
-
BILLING → All the necessary information to bill your customer (billing cycle, Tax category…)
-
CONTACT → Main billing contact for your customer
-
PAYING ACCOUNT → Information for payments (who, payment terms…)
-
GROUP → Information like Seller, Client category, Brand…
-
ACCOUNTING → Accounting information (generic)
For Individuals:
A total of 4 tabs:
-
CUSTOMER INFO → Generic information of your customer like name, address, phone…
-
BILLING → All the necessary information to bill your customer (billing cycle, Tax category…)
-
PAYING ACCOUNT → Information for payments (who, payment terms…)
-
ACCOUNTING → Accounting information (generic)
Did you notice that the tabs for each customer types actually represents the famous Opencell hierarchy?
Not that you have created your first customer, the next step will to introduce you to the Customer’s 360° view, which is the topic of this page: Customer 360° view