Here you will learn how to create a quote in Opencell.
Quotes in Opencell allow you to estimate the cost of products and services that are in your catalog. Quotes can be send to your customer and are saved in the system. You can create versions for a same quote, so that you will keep a track of modifications that have been made to them.
Once you and your client agree on the final quote, you can convert the quote to an order. You will see below how to create a quote and convert it to an order.
Creating a quote
Quote creation can be done either from the customer 360 view, or from the Customer care app → Quotes:
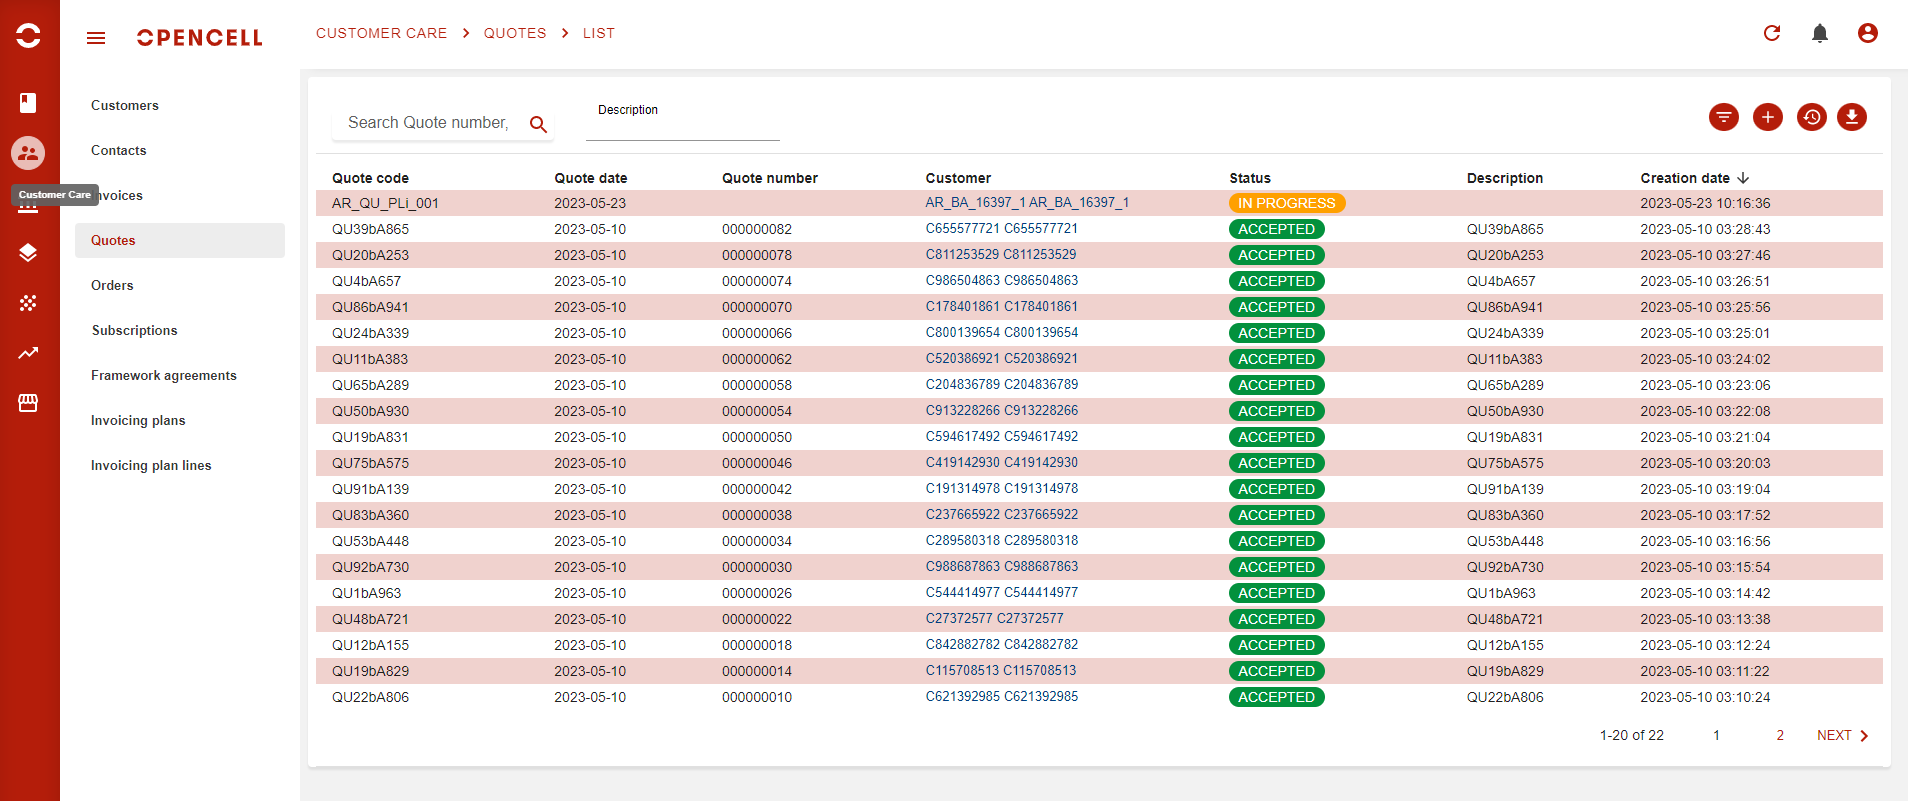
This is the list view of all quotations on your Opencell environment. From the top left corner you can use the search bar directly on quote number, customer or sales person. At the top right corner, you will find various buttons:
-
:filter: filter button to use on quote codes, quote dates, statuses, customers and salesperson
-
:plus: Create button to create a new quotation (we will see this in more details below)
-
:Last_viewed: Last viewed button that will open a pop-up where you can see all the last visualized quotes
-
:Download: Download button that will download the whole page in .CSV format
Once you hit the :plus: button, you will then arrive on the following page:
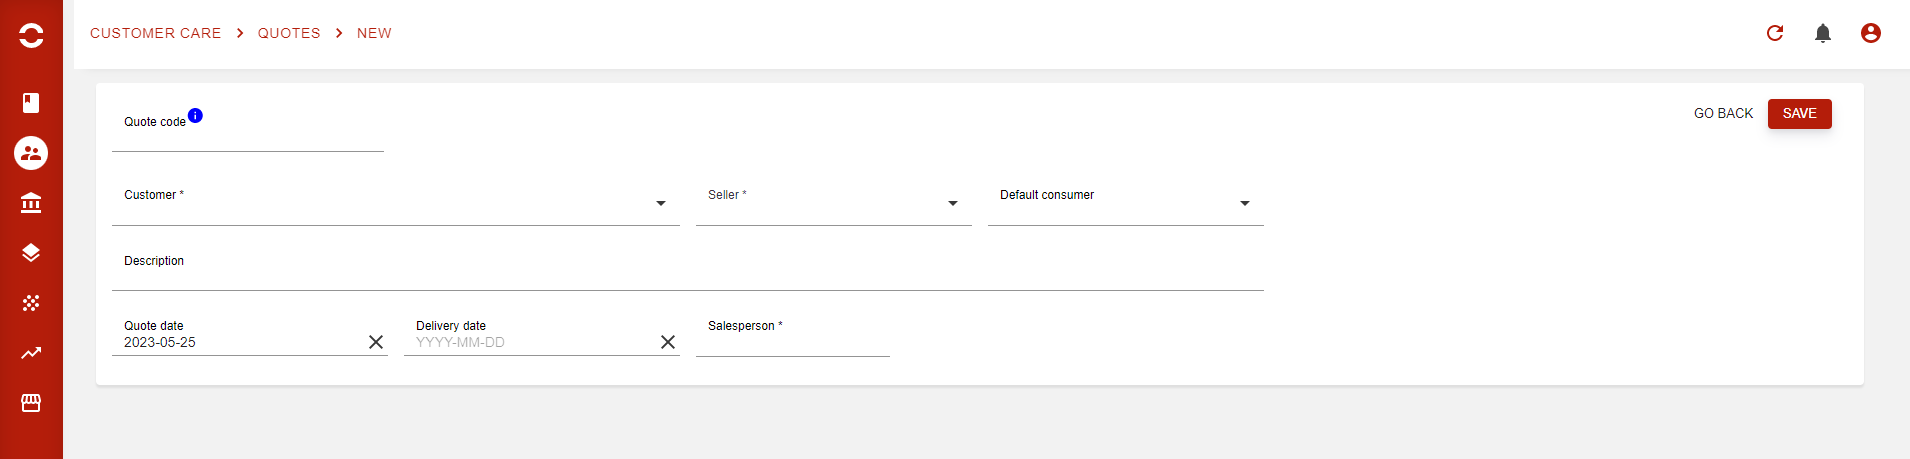
This is the general section of a quotation. To go further you will have to start by filling all mandatory fields and hit the ‘SAVE’ button.
Salesperson field is marked as mandatory as well as code, but both can be auto-filled once you hit 'SAVE”.
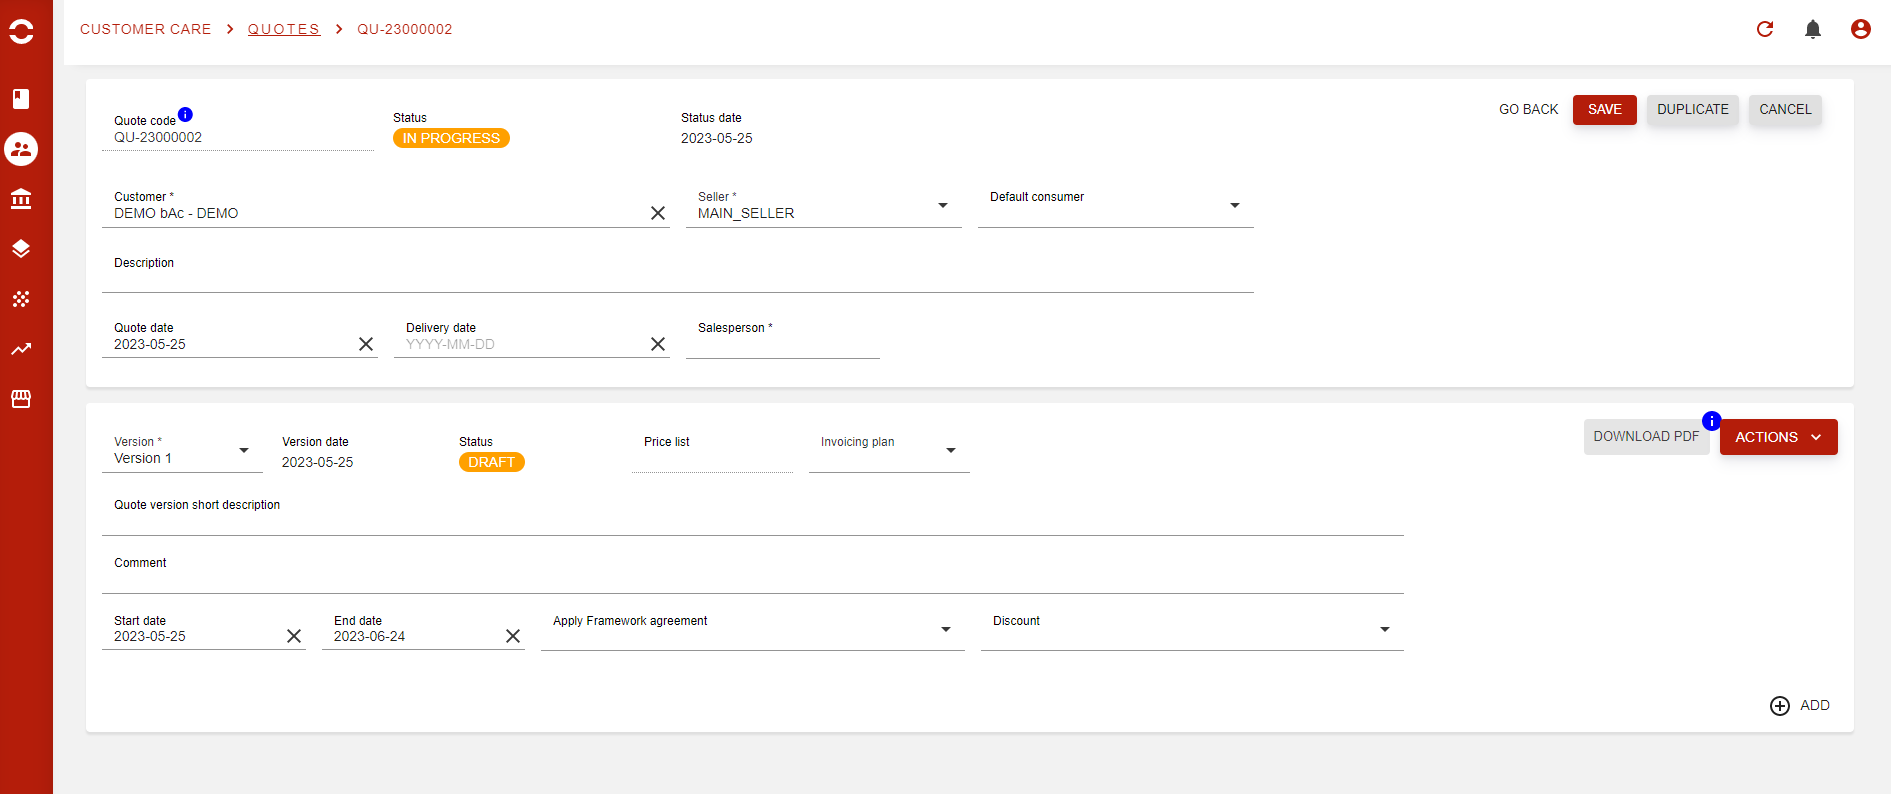
Just after hitting ‘SAVE’ button the quotation will actually be created and you will now see the Version section of quotation. Versions allow you to create several version for a same quotation, however you cannot have several published versions at the same time.
Now that you have the version section, let’s have a quick review of the most important fields:
-
Version → By default you will be on version 1, you can switch from version to version on the field itself. By default, only one version exists and to create one you need to hit the ‘ACTIONS’ button.
-
Invoicing plans → You can define an invoicing plan previously created here
-
Start and End date → The validity dates of your version
-
Appy framework agreement → You can now select manually a framework agreement on your quotation. The agreement will be one of the customer’s hierarchy and, if the version is validated will be linked to the order
-
Discount → Link a discount of type Quote to the quote version
At the bottom right corner you will find the ‘ADD’ button that will allow you to add a commercial offer to the quotation.
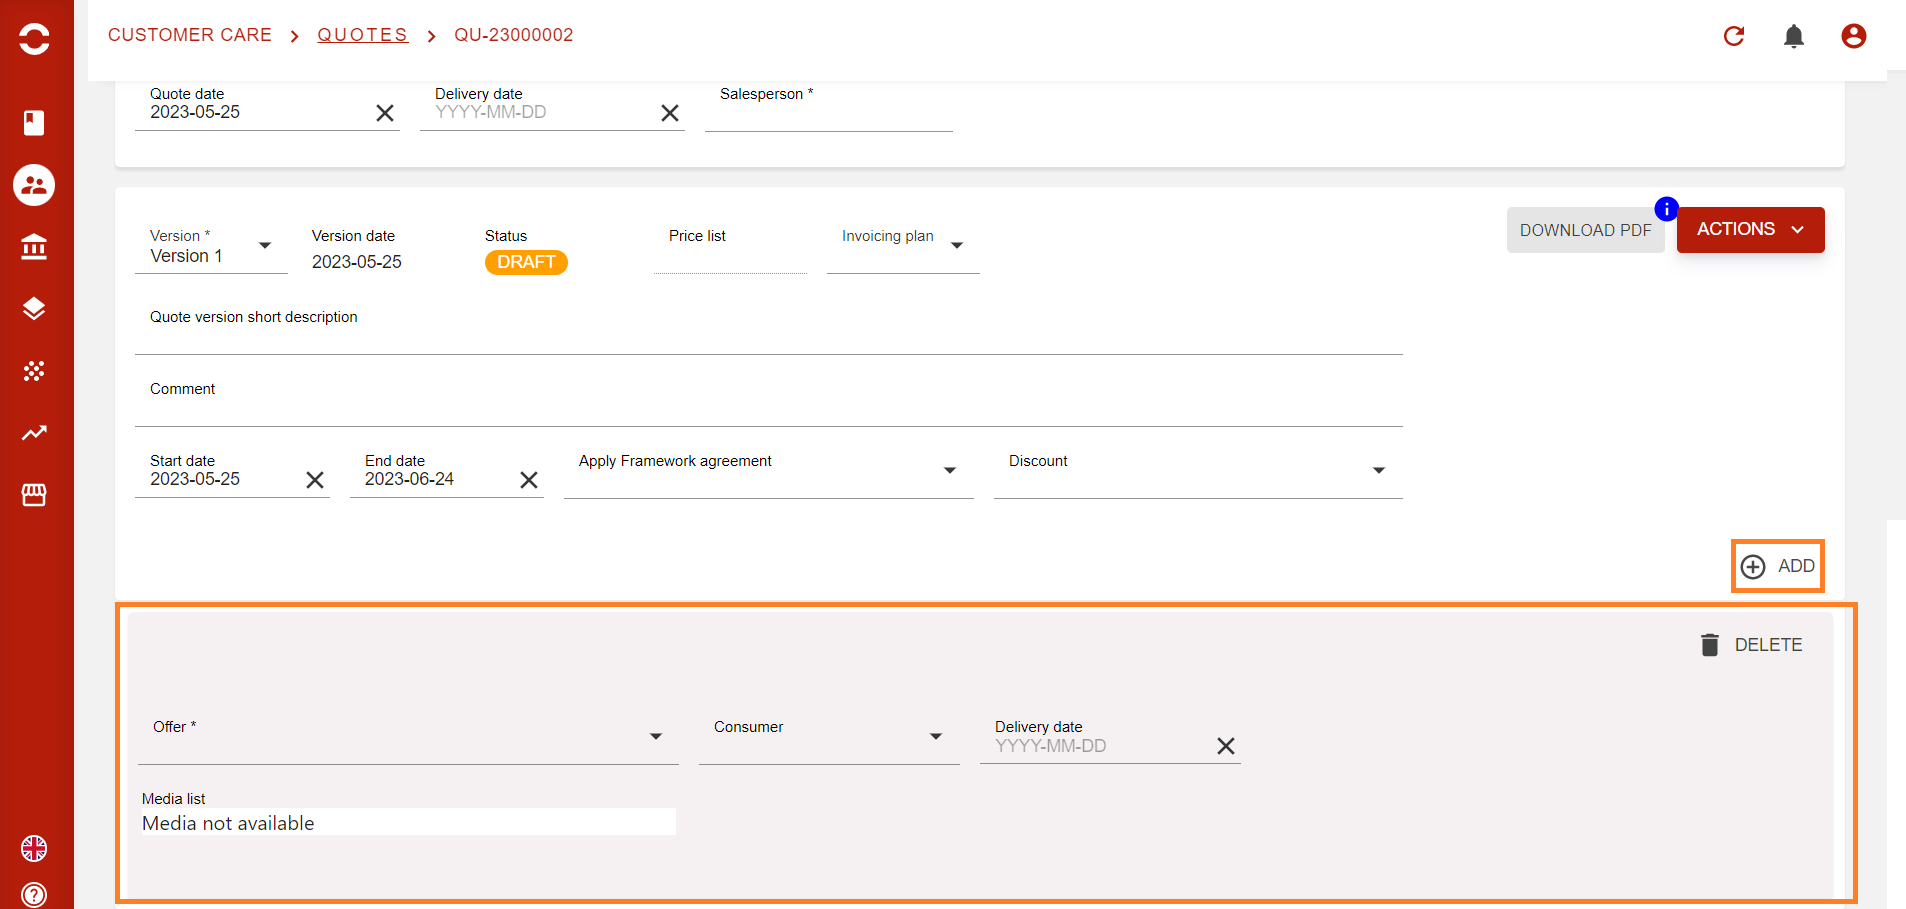
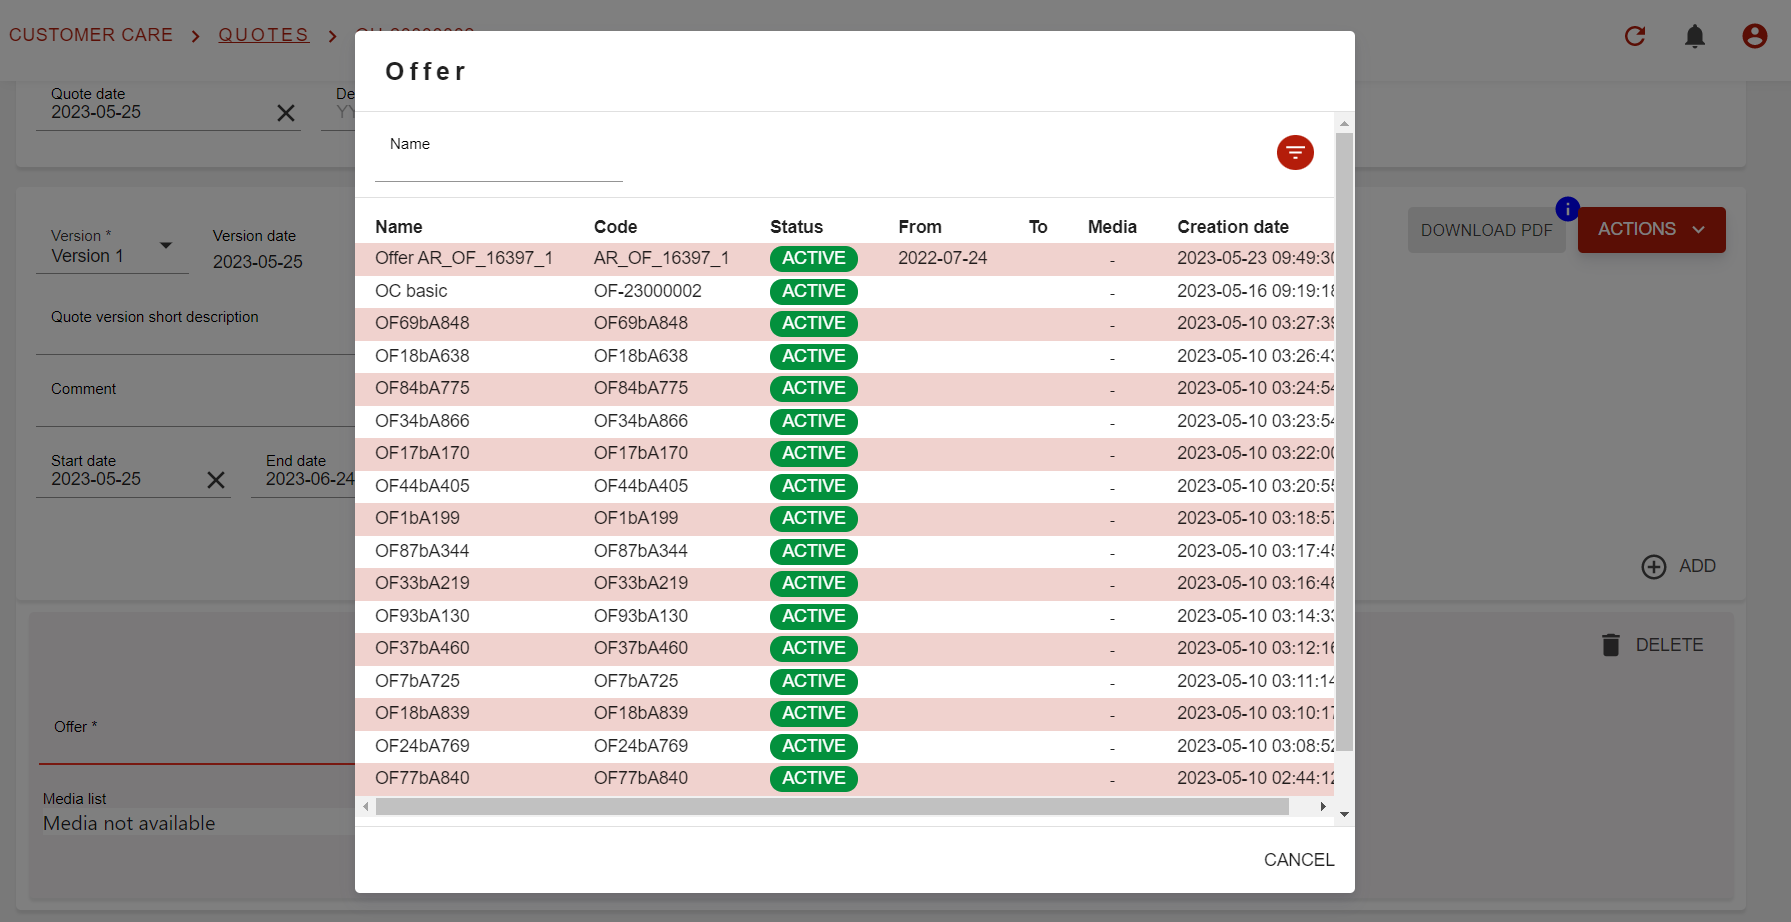
You now see the offer section from which you hit the offer field to select an offer from the pop-up
Once you added your offer (you can only add one at a time) you will see the products linked to offer appear. To manage them you will have to expand each box, as below.
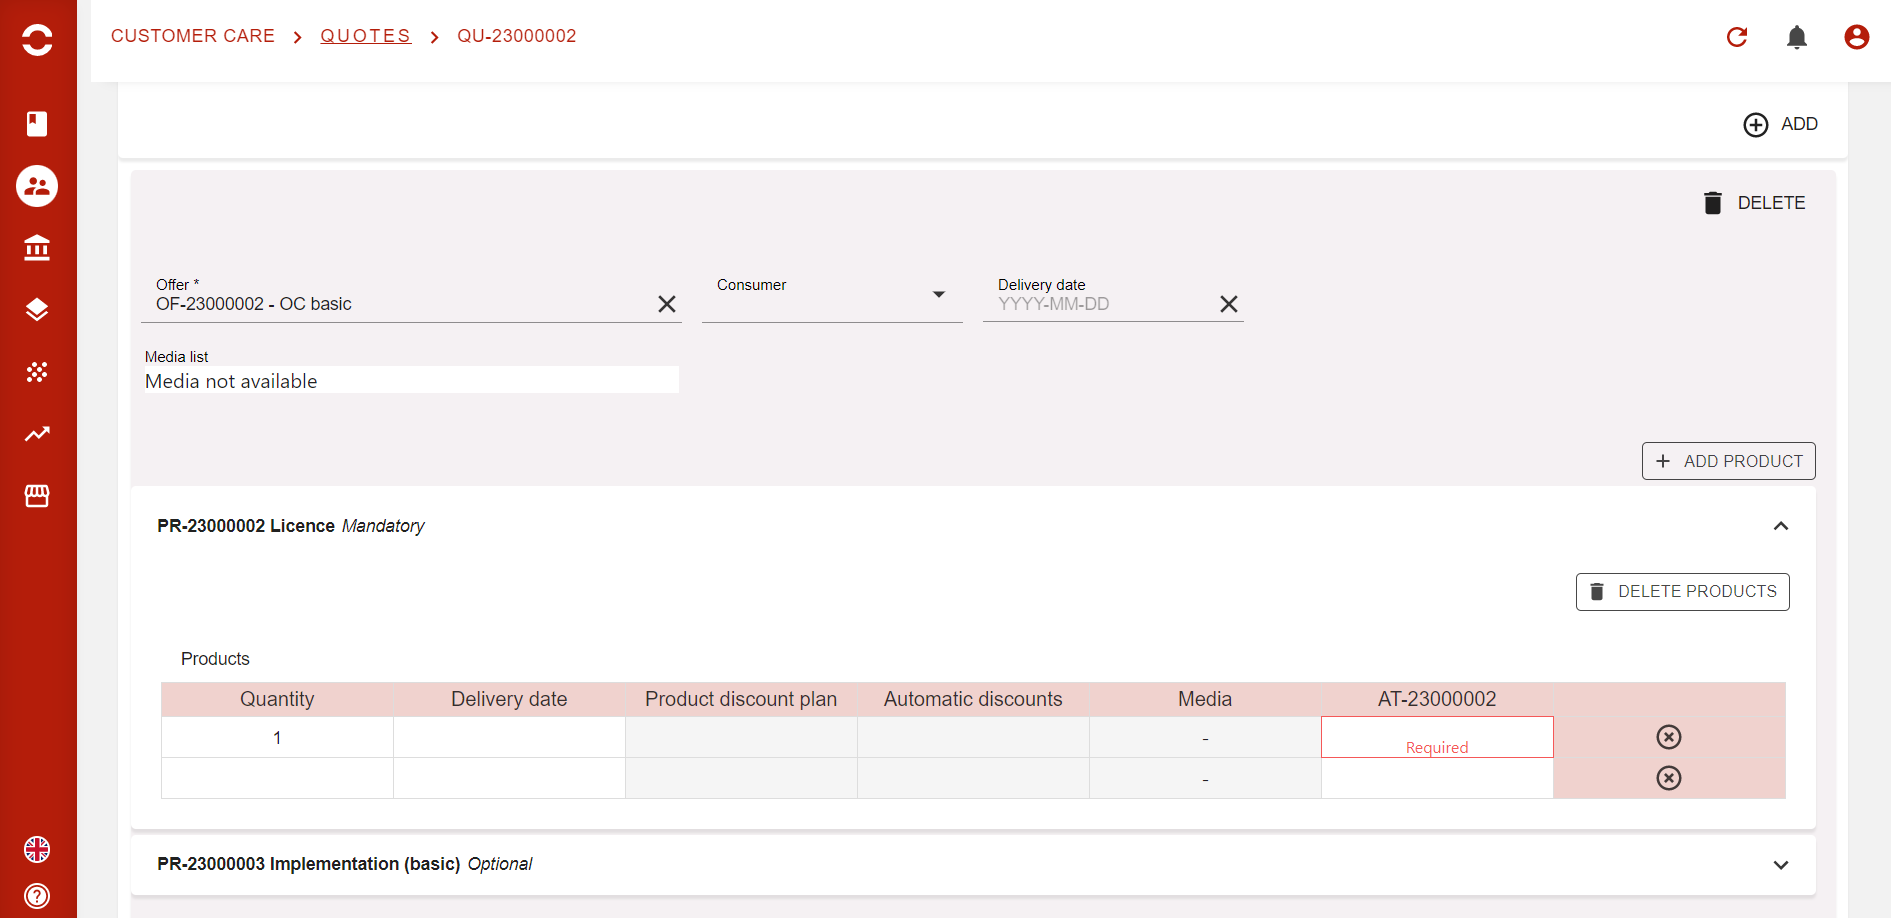
For each product line you will see a various number or columns:
-
Quantity
-
Delivery date → Date at which the product or service will be delivered
-
Product discount plan → If no discount plan is linked to the product, then the cell will be greyed, and if at least one discount plan is available, then the cell will be editable
-
Automatic discount → Only products or offer can have automatic discounts. If it is the case, you will see them displayed, but you will not be able to delete them
-
Media
-
Attribute(s) → Depending on the product you can have a large number of attributes. Mandatory attributes will be flagged as such.
Note: you can add several time the same product with other quantities or discounts or attribute values.
For each product, you will see if it is a mandatory or an optional product. If you leave an optional product with quantity set as 0, then the product will be taken off the quotation and you will not see it, however you will be able to add it later on if required.
You can add as many offers you want on your quotation.
Once your quotation is ready, you will have to publish it by hitting the ‘ACTION’ button.
Then once published, you can go through the quote validation process which is:
-
Request approval
-
Accepted
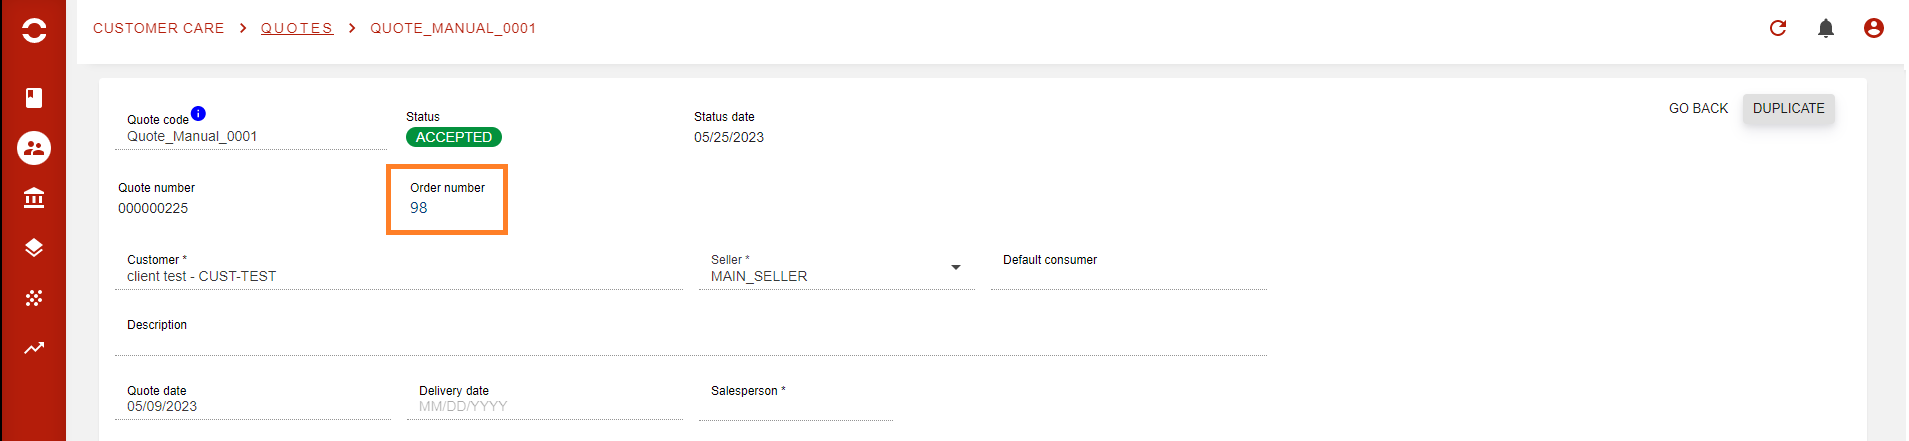
When the quote arrives to Accepted status, the Order number field will be displayed and you can click it to access directly the order that has been generated from the quote’s validation.
… / …