The fourht and last step in configuring a dunning policy is defining the parameters of policy. This policy wille include levels, which group one or more actions.
Concept
Now that you have defined the general settings for the Dunning feature, let’s start by defining the templates that you will use for some specific actions (that you will define just after).
Before starting, let’s quuickly resume the way a Dunning policy works in Opencell :
A dunning policy is an object that has several levels. Each level has one or several actions linked to it. Some actions can be automatic or manual, and for some action types, a template will be used to automate the flow.
All these different notions are objects in Opencell, and the way to create a dunning policy is to start from the most granular object, and work your way up to the actual Dunning policy.
This is best represented below:

Templates, actions, levels and policies are all independent objects linked to one another.
Accessing Dunning Policies in Opencell
In Opencell, you can manage Dunning Policies within the Customer Care module.
How to Navigate to Dunning Levels
-
Log in to your Opencell environment.
-
Go to Customer Care → Configuration → Dunning → Policies .
The Dunning menu follows the logical order of configuration steps required to implement dunning policies. All dunning-related submenus are accessible under the Customer Care module.
Dunning Policies Overview
Upon accessing the Dunning Policies page, you will find:
-
Predefined Policies that can be used as they are, modified, or deleted based on your needs.
-
A search bar to quickly find policied by name.

Creating a Dunning Policies in Opencell
You can create your own Dunning Policies from the Policies List View by clicking the “+” button in the top-right corner of the page.
1. Accessing the Levels Creation Page
Once you click “+”, you will be redirected to the Policy creation page:
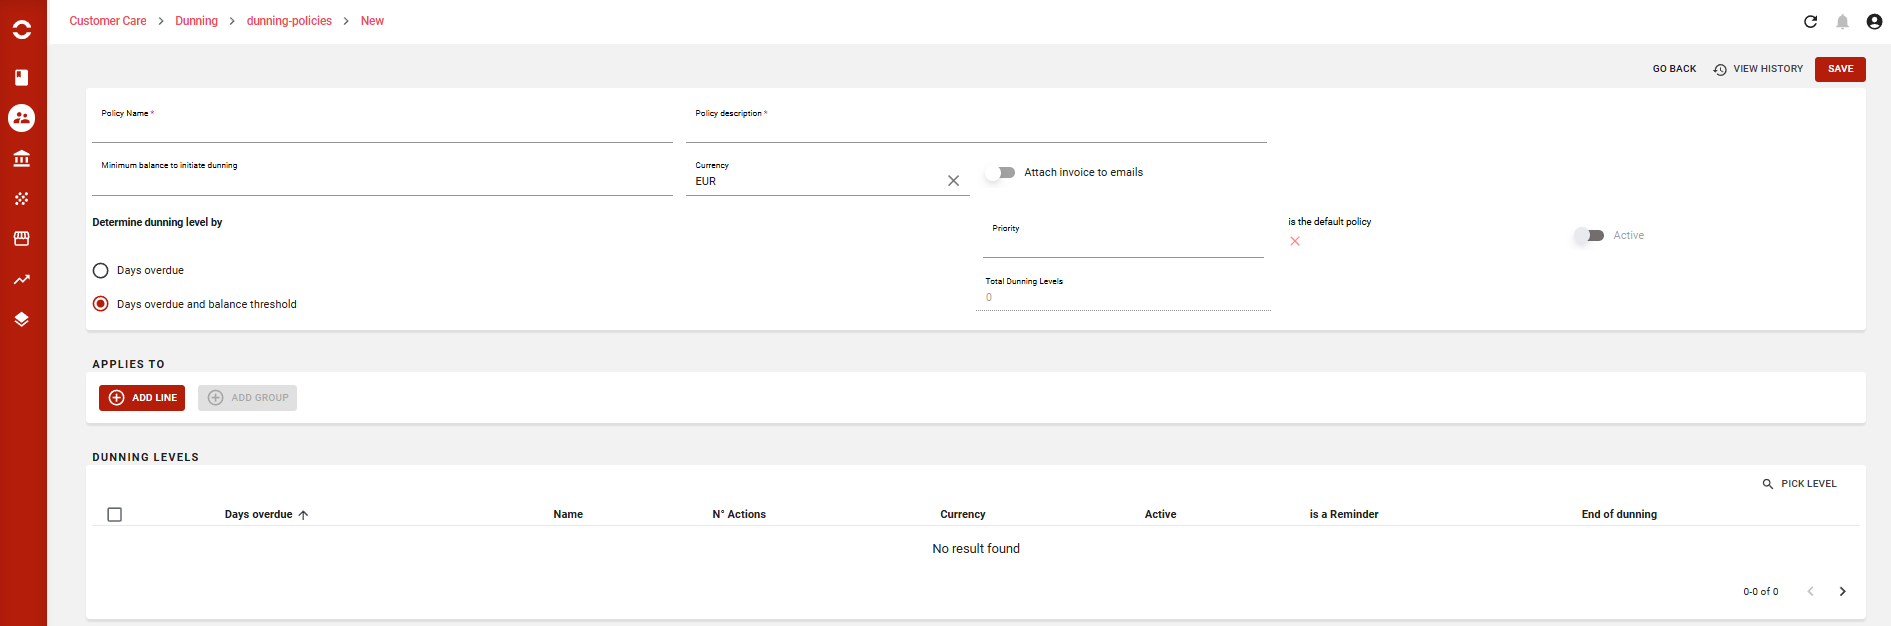
2. Configuring Your Policy details
On this part, you can define key policy settings, including:
-
Policy Name → Assign a unique name for easy identification.
-
Policy Description → Provide a brief description to clarify the policy's purpose.
-
Minimum Balance to initiate dunning → This setting is optional but allows you to control when dunning starts in both modes: Invoice-Based & Customer-Based Dunning → Helps exclude low-value invoices or small outstanding balances, ensuring dunning applies only to high-impact cases.
-
Currency → This setting is optional but it is used as a policy criteria.
-
Attach invoice to emails → this setting if activated will automatically attach invoice to the email sent to the customer in invoice-mode. Pdf must be already generated.
-
Active Toggle → Enables or disables the policy.
-
Is the default policy Toggle → Define the policy as default one.
-
Priority → Define the policy priority.
-
Total dunning Levels → display the number of dunning levels of the policy.
3. Configuring Your levels transition criteria
In this section, you can define the key criteria for transitioning between dunning levels, determining how they are selected and executed within the dunning policy.
-
Days Overdue → This option makes days overdue the sole criterion for level selection and execution. Levels will trigger strictly based on the number of overdue days defined in the policy.
-
Days Overdue & Balance Threshold → This option considers both days overdue and the minimum balance set for each level. A level will only execute if the overdue days condition is met and the customer or invoice balance meets the configured threshold.
4. Selecting levels for your policy
In this section, you can select one or more levels to finalize your policy configuration.
⚠ Important: A policy cannot be validated unless an end level is linked to it.
Dunning policies is the last piece of our dunning configuration.
This part is very easy, as you’ll see. You will configure a few parameters of your policy, define the customer typology, and select all the levels that will
Once we are done here, you will have your policy up and running (automatically, except for your manual actions of course )